
How to Take a Screenshot on a Laptop
Taking a screenshot on your laptop is an essential skill for various tasks—be it saving important information, creating tutorials, or sharing content. Whether you’re using a Windows or Mac laptop, this guide provides detailed methods to help you take screenshots efficiently.
Mastering these techniques can enhance your productivity and communication, whether you’re capturing a full screen, a specific window, or a selected portion. With built-in tools and third-party applications available, you have multiple options to suit your needs.
Let’s explore the different methods to capture screenshots on your laptop.
How to Take a Screenshot on a Windows Laptop
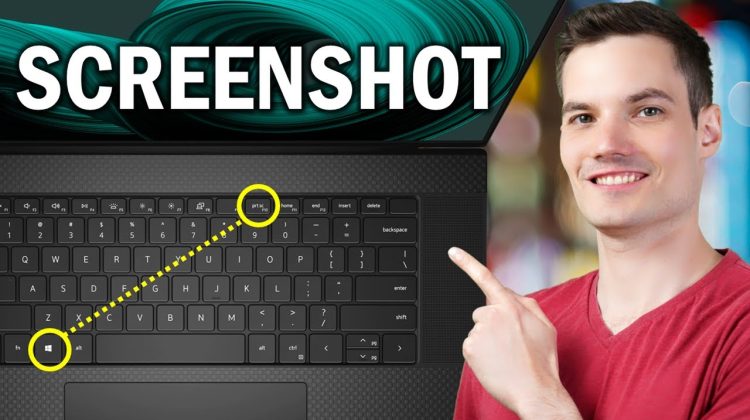
1. Using the Print Screen Key
- Full-Screen Capture: Press the
PrtScnkey. This captures the entire screen and copies it to your clipboard. You can then paste it into an application like Paint or Word by pressingCtrl + V. (Dell) - Active Window Capture: Press
Alt + PrtScn. This captures only the currently active window and copies it to your clipboard. - Save Screenshot Directly: Press
Windows + PrtScn. This captures the entire screen and automatically saves the screenshot to thePictures > Screenshotsfolder.
2. Using Snipping Tool or Snip & Sketch
- Snipping Tool: Search for “Snipping Tool” in the Start menu. Open the application, click “New,” and select the area of the screen you want to capture. After capturing, you can annotate and save the screenshot. (Lifewire)
- Snip & Sketch: Press
Windows + Shift + Sto open the Snip & Sketch tool. Select the area you want to capture. The screenshot is copied to your clipboard, and you can annotate and save it using the Snip & Sketch application.
3. Using Third-Party Tools
For more advanced features, consider using third-party applications:
- Greenshot: A free, open-source screenshot tool that allows for region captures, annotations, and direct exports to various applications.
- PicPick: A professional screen capture tool offering features like scrolling capture and screen recording.
How to Take a Screenshot on a Mac Laptop
1. Capture Entire Screen
- Press
Command (⌘) + Shift + 3. This captures the entire screen and saves the screenshot to your desktop.
2. Capture Selected Portion
- Press
Command (⌘) + Shift + 4. Your cursor will change to a crosshair. Click and drag to select the area you want to capture. Release the mouse button to take the screenshot.
3. Capture a Specific Window
- Press
Command (⌘) + Shift + 4, then press theSpacebar. Your cursor will change to a camera. Hover over the window you want to capture and click to take the screenshot.
4. Using the Screenshot Toolbar (macOS Mojave and later)
- Press
Command (⌘) + Shift + 5. This opens the screenshot toolbar, allowing you to capture the entire screen, a selected window, or a selected portion. You can also record your screen from this toolbar. (FreeCodeCamp)
Frequently Asked Questions (FAQs)
Q1: How do I take a screenshot on a laptop without using the keyboard?
A1: On Windows, you can use the Snipping Tool or Snip & Sketch. On Mac, you can use the Screenshot application found in the Utilities folder.
Q2: Can I capture a scrolling screenshot on my laptop?
A2: Yes, using third-party tools like Greenshot or PicPick, you can capture scrolling screenshots, which is useful for capturing entire web pages.
Q3: How can I edit my screenshots after capturing them?
A3: Both Windows and Mac provide built-in tools for editing screenshots. Additionally, third-party applications like Greenshot and PicPick offer advanced editing features.
Q4: Where are my screenshots saved on a Windows laptop?
A4: By default, screenshots taken using Windows + PrtScn are saved in the Pictures > Screenshots folder. (Business Insider)
Q5: How can I share my screenshots directly from my laptop?
A5: After capturing a screenshot, you can paste it into an email, messaging app, or social media platform. Third-party tools like PicPick also offer direct sharing options.
Conclusion
Taking screenshots on your laptop is a simple yet powerful way to capture and share information. Whether you’re using built-in tools or third-party applications, there are various methods to suit your needs. By mastering these techniques, you can enhance your productivity and communication.
For more detailed guides and tutorials, visit:
- Tom’s Hardware: How to Take Screenshots in Windows 11 or 10
- Business Insider: How to Take a Screenshot on Windows 10 and Windows 11
- FreeCodeCamp: How to Take a Screenshot on a Mac