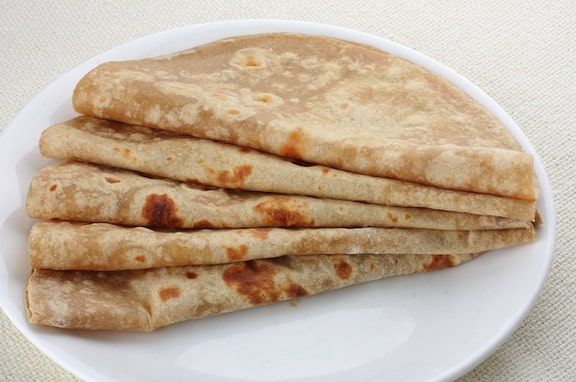
Mastering the Art of Chapati: A Comprehensive Guide with Ingredients and Measurements
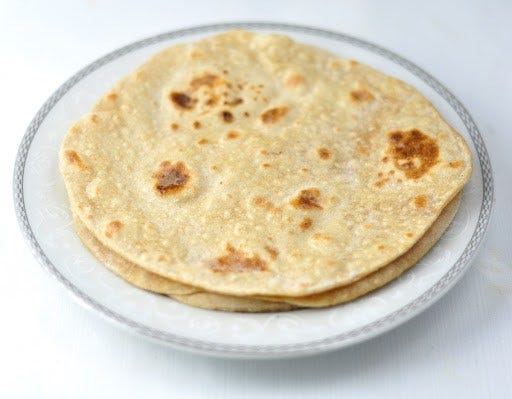
Chapati, also known as roti or flatbread, is a staple in many households across South Asia and East Africa.
This versatile and delicious bread has stood the test of time, serving as a perfect accompaniment to a wide variety of dishes, from curries and stews to vegetables and chutneys.
Making chapati from scratch might seem intimidating at first, but with the right ingredients, measurements, and techniques, you can become a pro in no time.
In this extensive guide, we’ll walk you through the step-by-step process of creating perfect chapati at home, ensuring they turn out soft, fluffy, and full of flavor.
What is the process of making chapati?
Ingredients for Chapati
- Whole Wheat Flour (Atta)
- Water
- Salt
- Oil or Ghee
- Extra Flour for Dusting
- Butter or Ghee for Brushing (Optional)
Before we embark on this culinary journey, let’s begin by gathering the essential ingredients needed to create scrumptious chapati. Here’s a list of what you’ll need:
1. Whole Wheat Flour (Atta): Whole wheat flour is the star ingredient of chapati, imparting its nutty and wholesome flavor. Look for “atta” in Indian grocery stores.
2. Water: Room temperature water is required to form the dough. You can also opt for warm milk, which adds extra softness to the chapati if you prefer.
3. Salt: A pinch of salt enhances the flavor of chapati. You can adjust the salt according to your taste.
4. Oil or Ghee: A small quantity of oil or ghee (clarified butter) is added to make the chapati soft and pliable. Choices include vegetable oil, olive oil, or ghee, depending on your preference.
5. Extra Flour for Dusting: You’ll need an additional amount of flour for dusting your rolling surface and dough to prevent sticking.
6. Butter or Ghee for Brushing (Optional): For an extra layer of flavor, you can brush the chapati with a bit of melted butter or ghee just before serving.
Now that we have our ingredients ready, let’s proceed with the measurements and the step-by-step process.
How to make good chapati at home?
Step 1: Measuring the Ingredients
To make approximately 10 chapatis, you’ll need the following measurements:
- 2 cups of whole wheat flour (atta)
- 3/4 cup of water
- 1/2 teaspoon of salt
- 1 tablespoon of oil or ghee (for the dough)
- Extra flour for dusting
- Butter or ghee for brushing (optional)
Step 2: Preparing the Dough
- In a mixing bowl, combine the whole wheat flour and salt. Mix them well.
- Gradually add the water and a tablespoon of oil or ghee to the flour mixture. Stir with a spoon or your hand to form a rough dough.
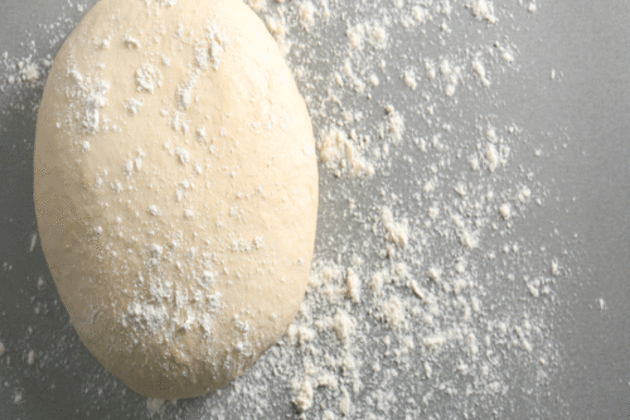
- Knead the dough for about 5-7 minutes until it becomes smooth and elastic. If it’s too sticky, you can add a bit more flour. If it’s too dry, sprinkle a little water.
- Once your dough is soft and smooth, cover it with a clean cloth and let it rest for 20-30 minutes. This resting period allows the gluten to relax and makes it easier to roll out the chapati.
Step 3: Dividing the Dough
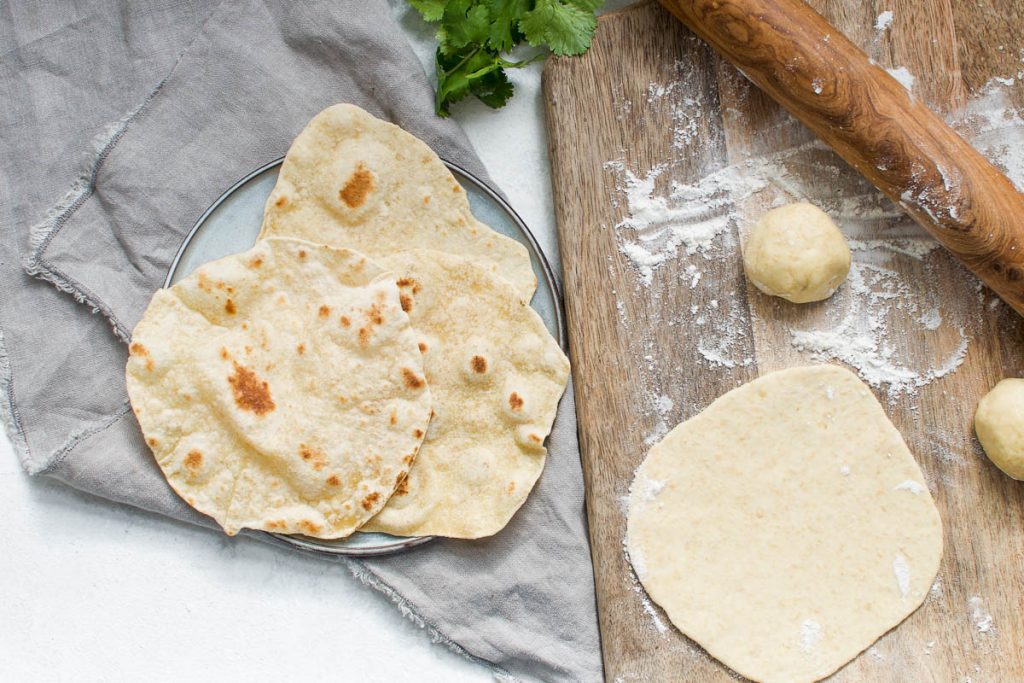
- After resting, uncover the dough and divide it into equal-sized portions. For this recipe, you can make around 10 portions.
- Roll each portion into a small ball, then flatten it slightly with the palm of your hand.
Step 4: Rolling the Chapati
- Heat a griddle or non-stick pan over medium-high heat. While it’s heating, you can start rolling out your chapati.
- Take one of the dough portions and dip it into some dry flour. This helps prevent sticking.
- Using a rolling pin, roll the dough into a thin, round circle. Aim for a thickness of about 1-2 millimeters. If you’re new to chapati making, don’t worry if it’s not perfectly round; practice makes perfect.
- Roll the chapati gently, applying even pressure to create an even thickness. If it sticks to the rolling surface or rolling pin, dust with a little more flour.
Step 5: Cooking the Chapati
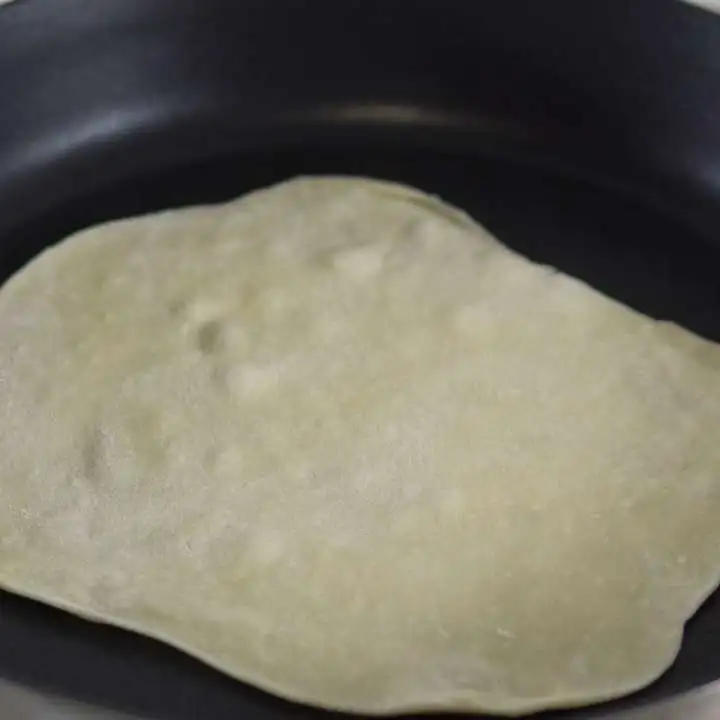
- Once your pan is hot, carefully place the rolled chapati onto it. You don’t need any oil or butter in the pan as chapati is traditionally dry-cooked.
- After about 15-20 seconds, you’ll notice small bubbles forming on the surface of the chapati. This is a sign that it’s cooking properly.
- Flip the chapati with a spatula. The side facing down should have golden brown spots.
- While the second side is cooking, you can press down gently with the spatula, which will cause the chapati to puff up. The puffing is what makes chapati soft and delicious.
- Cook both sides until they have golden brown spots, and the chapati is fully cooked.
Step 6: Serving the Chapati
- Once cooked, remove the chapati from the pan and place it on a clean kitchen towel or a plate.
- Optionally, brush the hot chapati with melted butter or ghee for added flavor and a beautiful shine.
- Repeat the rolling and cooking process for the remaining dough portions.
Step 7: Enjoying Your Chapati
Chapati is best enjoyed fresh off the griddle, while it’s still warm and soft. You can serve it with a variety of dishes, such as curries, dals, vegetables, or even as a wrap with your favorite fillings. It’s a versatile bread that complements both savory and sweet flavors.
Conclusion
Making chapati at home is a gratifying experience that not only yields delicious results but also allows you to showcase your culinary skills.
With the right ingredients and measurements, you can create delectable, soft, and flavorful chapati that will elevate your meals.
Whether you’re a novice cook or an experienced chef, this unleavened bread is a delightful addition to your culinary repertoire, offering endless possibilities for culinary creativity.
So, gather your ingredients, follow these steps, and embark on a delicious journey into the world of homemade chapati.
You’ll soon discover that making perfect chapati is not just a culinary feat; it’s a labor of love that can be shared with family and friends.
